3D Model from Contours
In addition to creating 3D mesh models from images, you can use 3D-DOCTOR to create 3D models from contours and 3D XYZ points.
1. Create 3D Models from Contours or Boundaries
Prepare Your File: Contours or boundaries can be obtained from scanners, digitizing tablets, or other sources. Save your contour data using 3D-DOCTOR's boundary file format. The boundary file format (*.BND) is a simple ASCII text file and its syntax is shown below:
Z1
X11,Y11
X12,Y12
...
X1N,Y1N
X11,Y11
END
Z2
X21,X21
X22,Y22
...
X2M,Y2M
X21,Y21
END
...
ZK
XK1,YK1
XK2,YK2
...
XKO,YKO
XK1, YK1
END
END
In this file, each contour starts with an integer slice number (for example, Z1, in the range of 0 to the total number of slices). The following lines are the points (X and Y within the slice) along the contour. The last point is always the same as the first point to indicate a closed polygon. The points can be stored in either clockwise or counter-clockwise order. The contour is ended with a keyword "END". Another "END" indicates the end of the file. Slices do not need to be sorted.
Holes and islands are stored in the same way as a single closed polygon. 3D-DOCTOR will create the topology once the data is read in.
Step 1. Use File/New Workspace to open a blank window.
Step 2. Use File/Boundary/Import Boundary to open the boundary data file for display in the blank window.
Step 3. If you need to adjust the size of the workspace, use the Edit/Resize Workspace command. Changing the workspace size will not affect the size of boundary lines, only the relative location in the window.
Step 4. If you need to edit your boundary data, use the Edit/Boundary Editor On command.
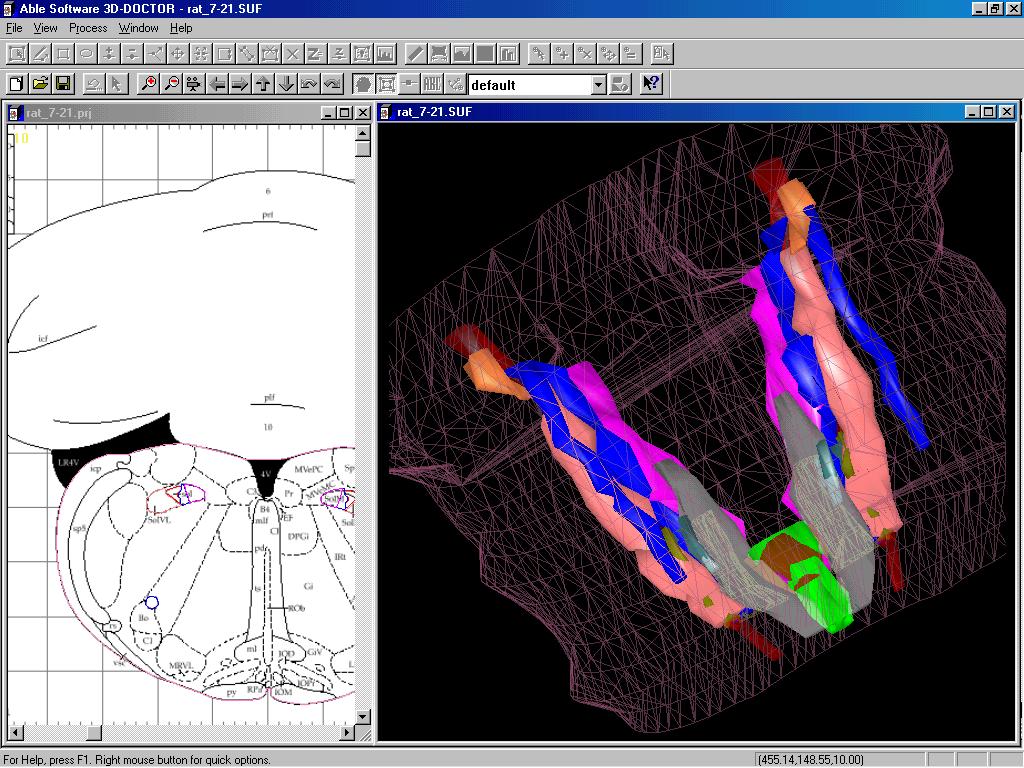
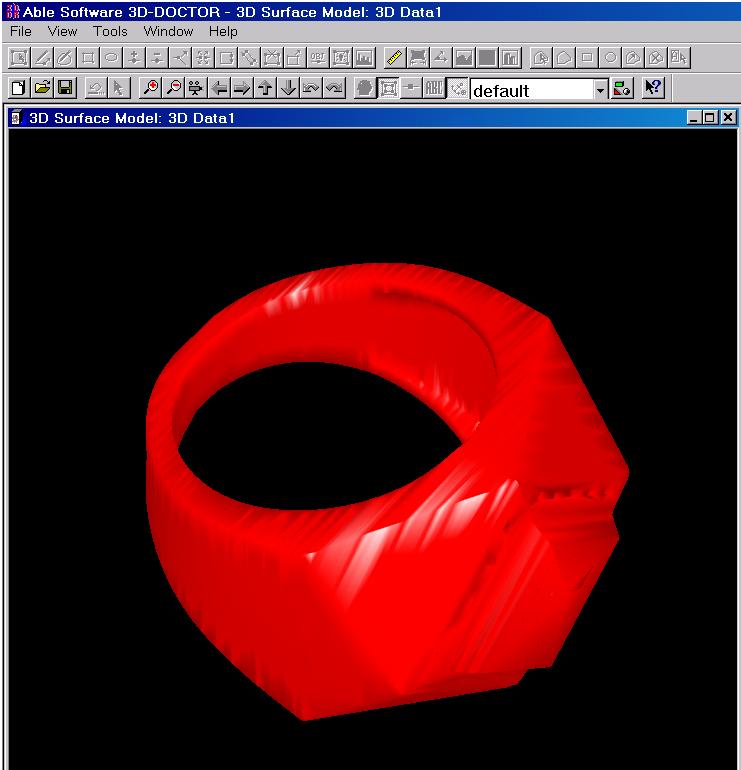
Step 5. Use 3D Rendering/Surface Rendering command to create 3D surface model.
Step 6. In the 3D surface window, use the File/Export Model command to save your 3D models to a format, such as AutoCAD DXF, STL (ASCII or Binary), IGES, VRML, PLY, 3DS, etc.
2. Create 3D Models from XYZ Points
If you use a 3D range scanner, you will have 3D XYZ points. 3D-DOCTOR lets you create 3D models from the point data with a single command and the models can be exported to a commonly used format, such as AutoCAD DXF, STL (ASCII or Binary), IGES, VRML, 3DS, PLY, etc.
Simply save your points data to an ASCII file like this:
X1 Y1 Z1
X2 Y2 Z2
....
Xn Yn Zn
and use the File/Sparse Points Import/Points To Surface Model command to create the model.
3. Create a 3D Volume Image from XYZ Point Data
If your point data also has values at each location, store your XYZ file as:
X1 Y1 Z1 V1
X2 Y2 Z2 V2
....
Xn Yn Zn Vn
and then use the File/Sparse Points Import/Points To Image command to create a volume image. Use File/Open to display the image and use 3D-DOCTOR's image processing functions to process and analyze the image.