Jaw Modeling Using Dental CT Scan
Dental CT (computed tomography) is an imaging technique that uses special x-ray equipment to obtain cross-sectional images of the jaws. 3D bone models can be created to guide dental implant and other dental applications.
A 3D model can be created from a CT image in 3 main steps:
Step 1. Open the CT image. If the image slices come in as separate files, use the "New Stack" command.
Step 2. Use the "Interactive Segmentation" to generate object boundaries. For small size soft tissues, the manual tracing method can also be used. Boundaries can be edited using the boundary editor.
Step 3. Create 3D mesh models using the surface rendering command. The models can be exported to STL (ASCII and Binary), DXF, VRML, 3DS, PLY, OBJ and other formats for 3D pringting, rapid prototyping, surgical planning and other applications.
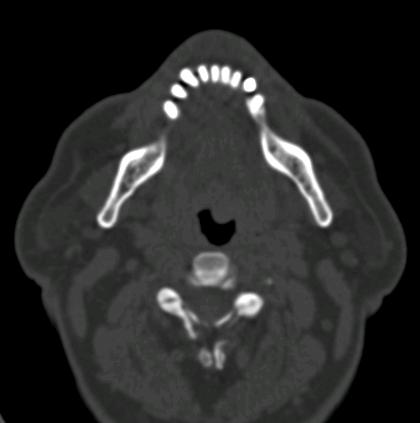
Step 1. Open Image |
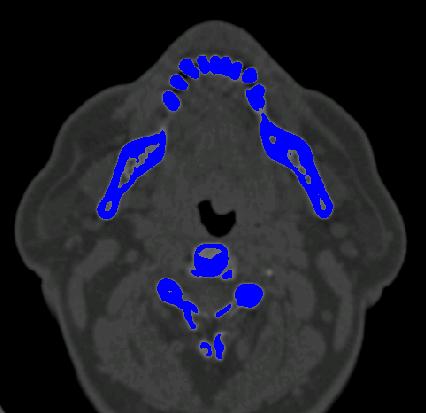 Step 2. Interactive Segmentation |
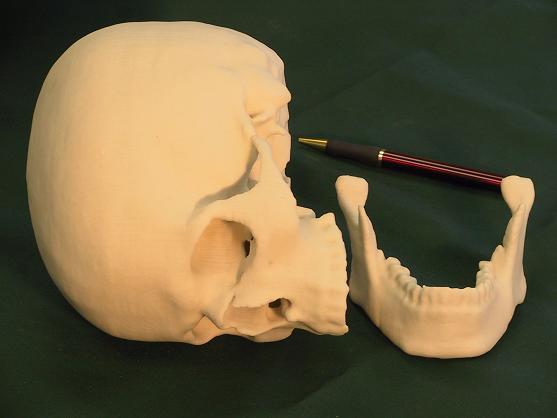 Step 3. Creating 3D Digital Model and Physical Model Using a 3D Printer. |